Configuring a Kasm Workspace Server
Introduction to PowerShell: Getting Started with the Basics
01/10/2022PowerShell Syntax and Operators: A Beginner’s Guide
01/02/2023Welcome to Configuring a Kasm Workspace Server. We are walking through the configuration of a new Kasm Workspace Server, as well as adding users. Configuring permissions for users, adding administrators, and configuring the Chrome extension to work with our new server.
What is Kasm?
“Streaming containerized apps and desktops to end-users. The Workspaces platform provides enterprise-class orchestration, data loss prevention, and web streaming technology to enable the delivery of containerized workloads to your browser.”
https://www.kasmweb.com/
However, this doesn’t give their platform justice. Being able to stream entire browsing sessions securely and privately changes the game with security. Now, instead of being weary of a link online you can open the link, evaluate it, and when you are done you can delete your entire browsing session and your computer is not effected in the slightest. Or application streaming. Have you ever wanted to have an entire desktop OS available in the cloud or remotely from your home? Are you looking to create and dispose of secure desktops? Are you looking to do the same with your browsing? That is fantastic, you came to the right place.
Kasm uses docker!
Kasm uses docker, and docker containers to isolate your sessions. This means that when you are done with the container you just delete it. Thus completely deleting that instance and all actions from the server. No record, no logs.
So, ready to dive into Kasm? Let’s start!
What are the requirements to run Kasm?
-Linux Server
-Specific Distributions listed here
-2CPU Cores
-4GB RAM
-50GB Disk Space
How do you install Kasm?
I had already setup the Kasm server running through the default Ubuntu settings for 20.04. So my instruction will assume you already have Ubuntu Server 20.04 or greater installed, and the installation meets the minimum requirements. I went ahead and loaded a new install on my farm for this installation walkthrough.
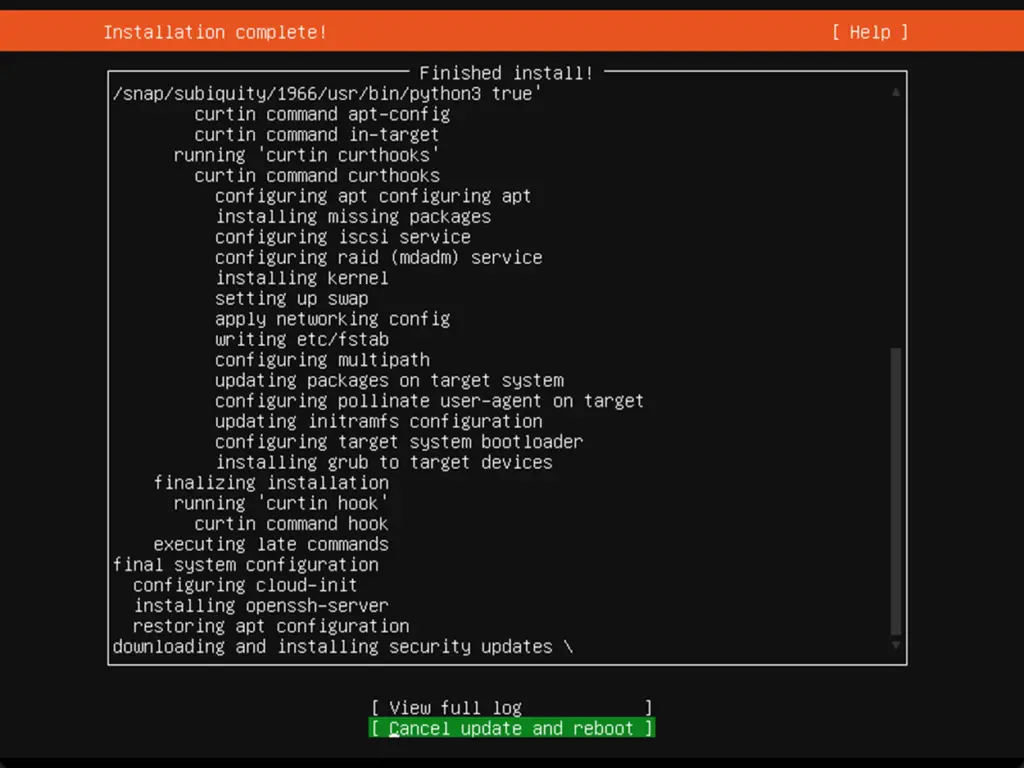
Once your server is completed, restart it. Now that the server has restarted you can SSH:
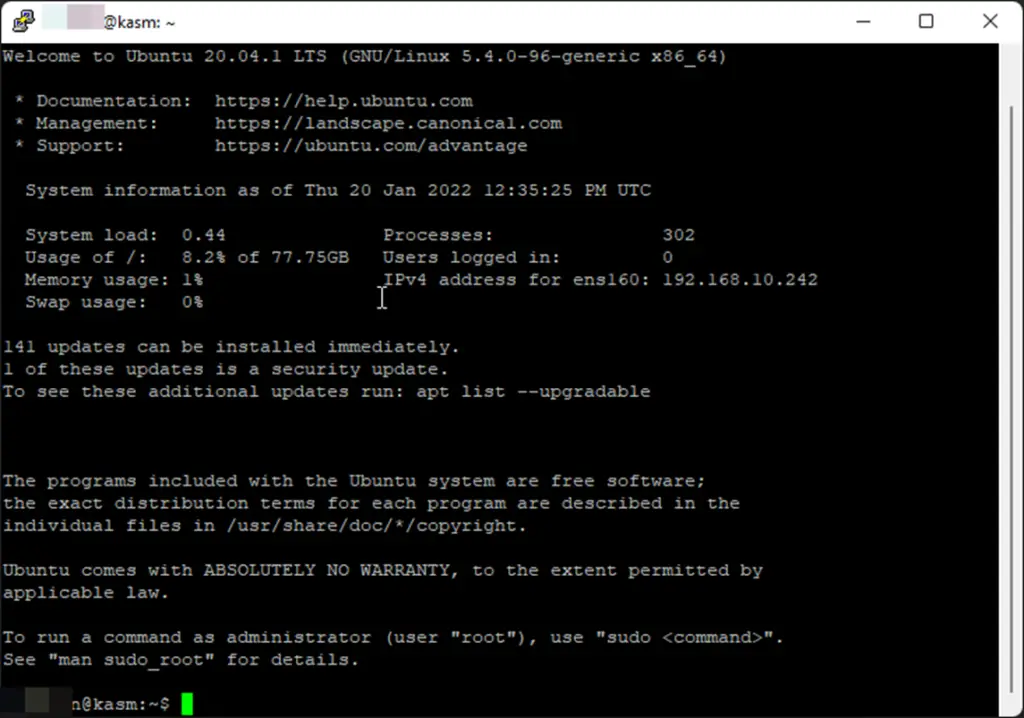
Upon connecting the very first command you should run is:
sudo apt update && sudo apt upgrade -y
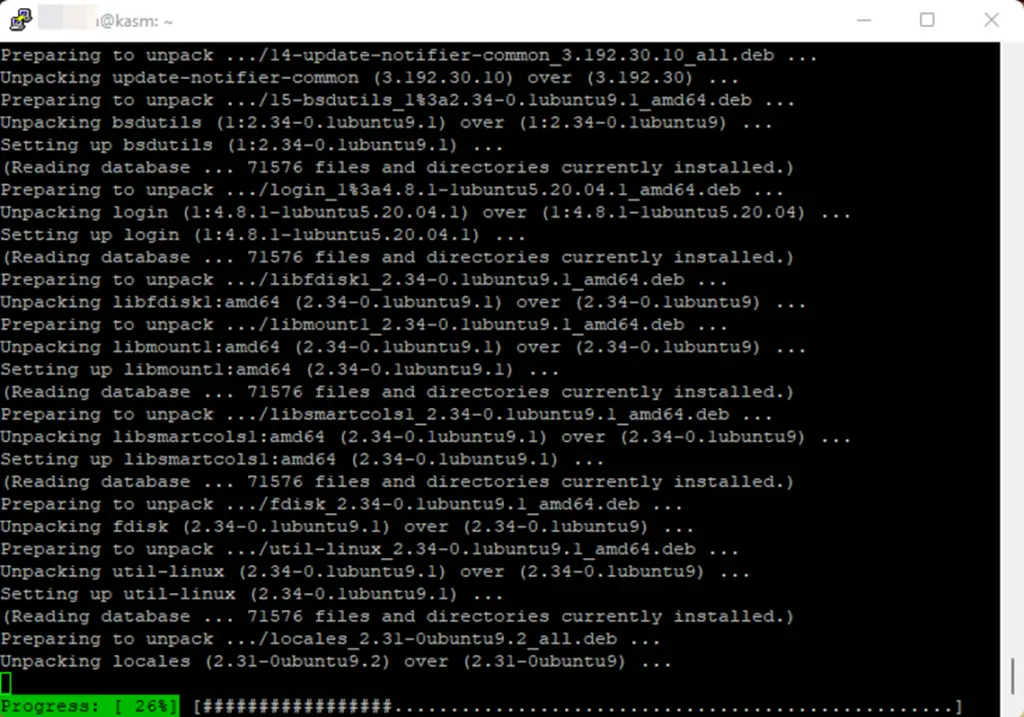
Once the upgrade starts you have a few minutes
Now that the update, and upgrade are completed we can continue to the fun stuff.
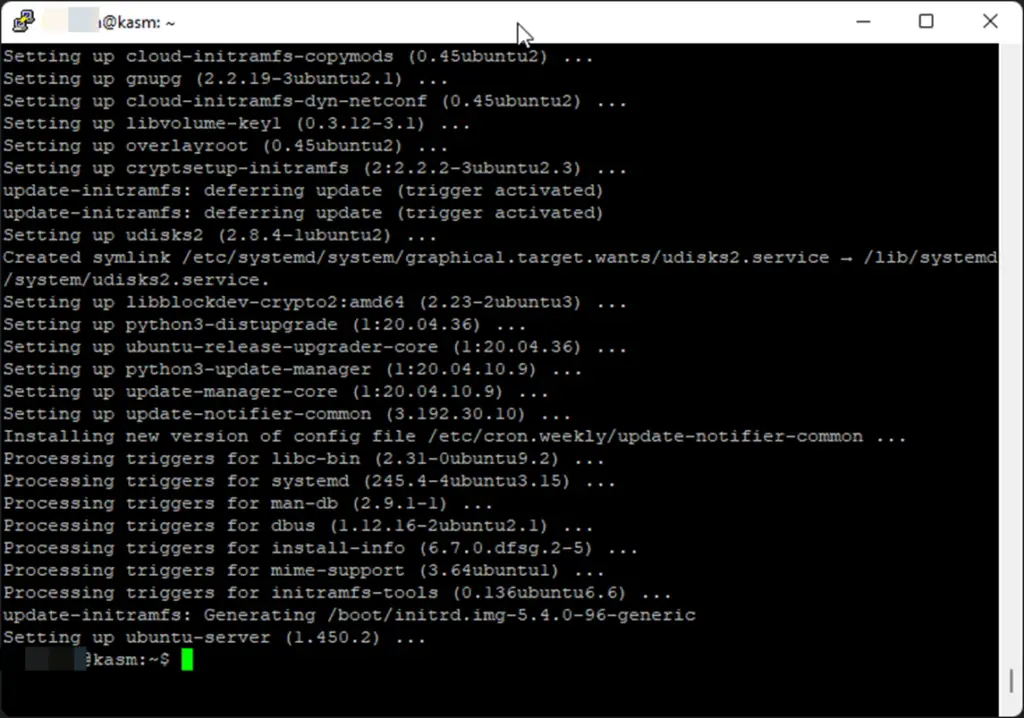
Let’s start this by adding a swap partition.
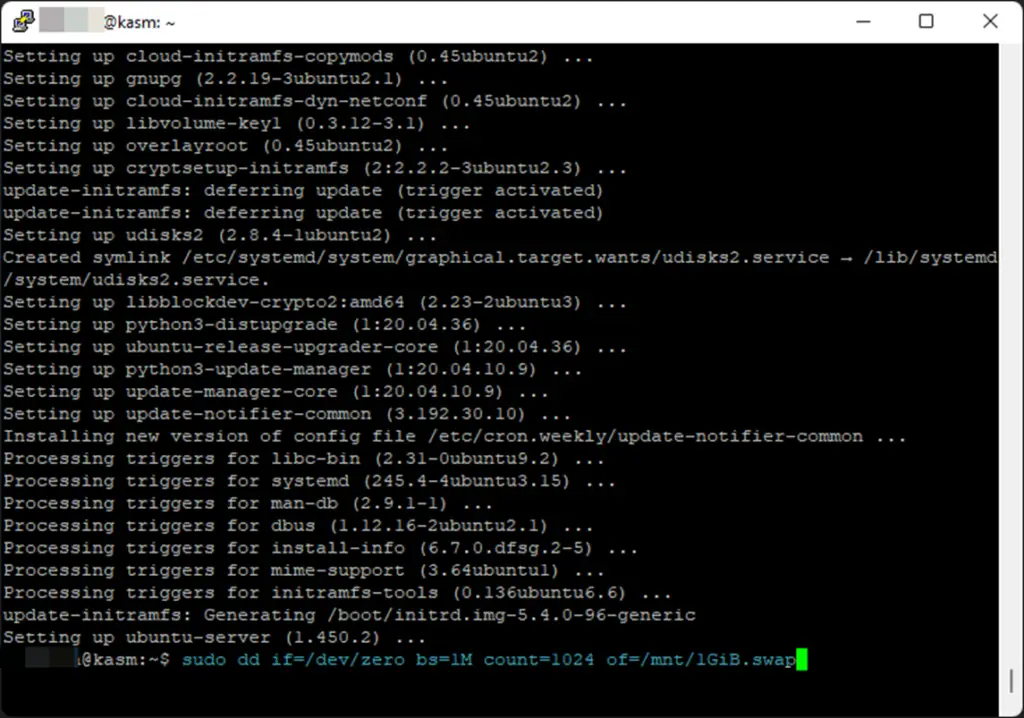
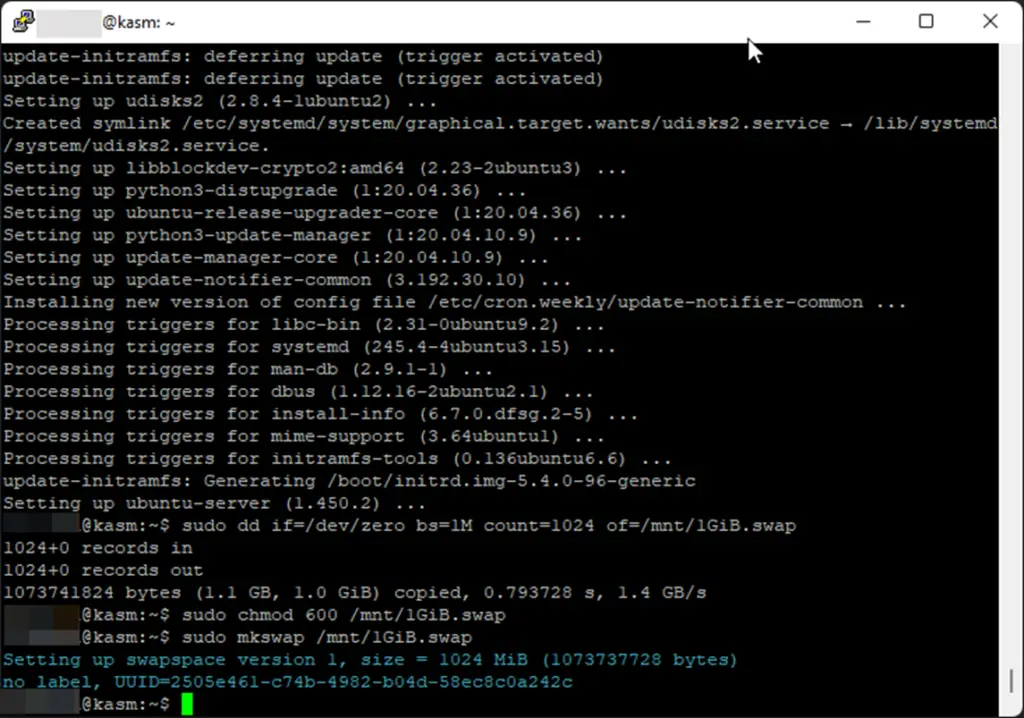
sudo dd if=/dev/zero bs=1M count=1024 of=/mnt/1GiB.swap
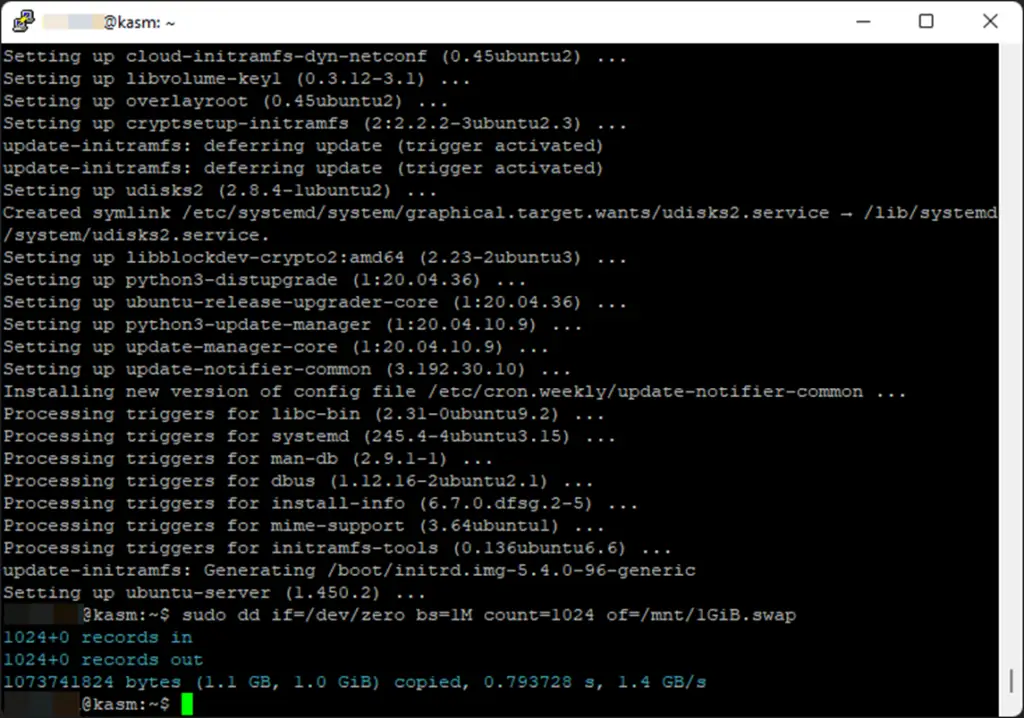
Once completed you will be met with this output:
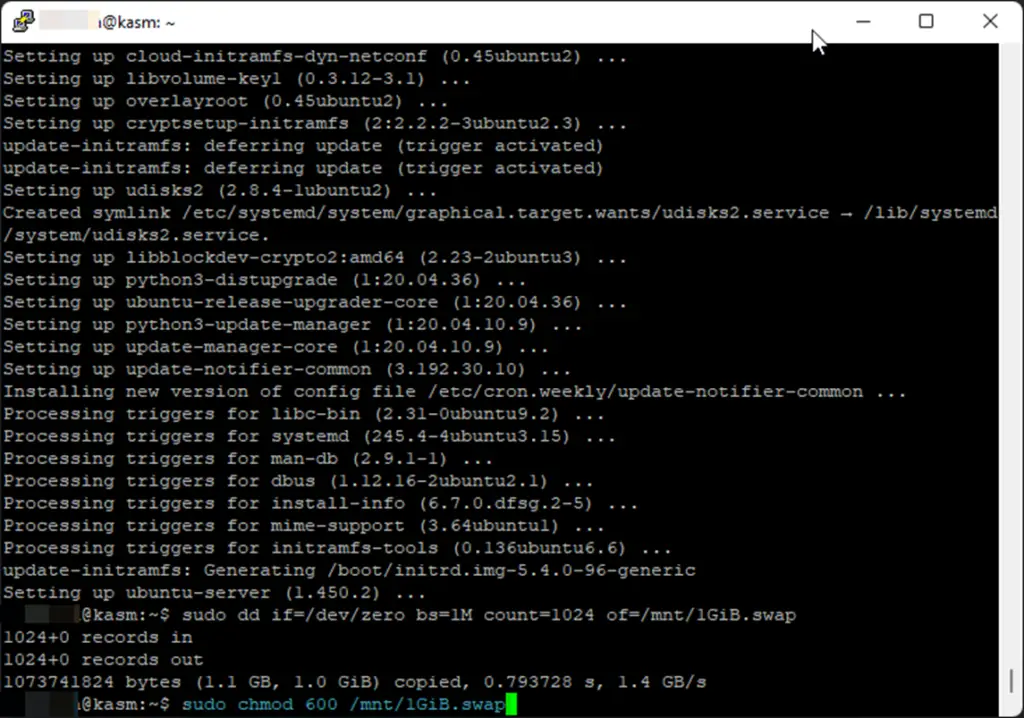
The next command sets permissions on the swap file:
sudo chmod 600 /mnt/1GiB.swap
Next we make the swap file an actual swap file using mkswap:
sudo mkswap /mnt/1GiB.swap
The output should resemble this:
Next we actually want to turn the swap on, we do this with the following command.
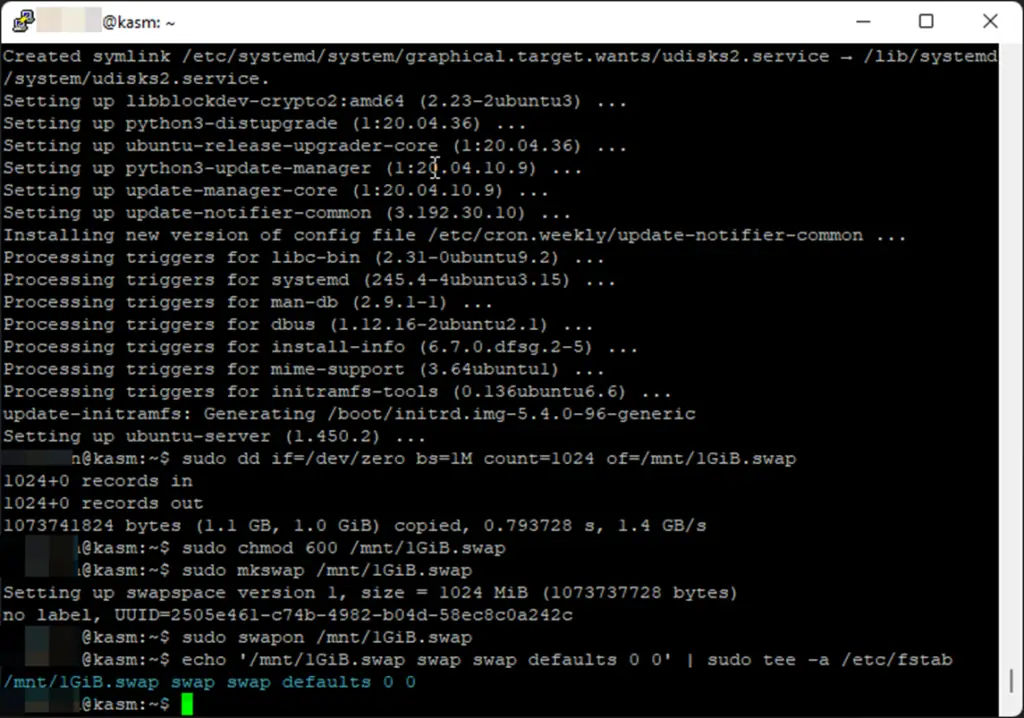
sudo swapon /mnt/1GiB.swap
Now we need to make sure the swap works on restart. This next command enables the swap to come up after a reboot by putting it in /stc/fstab
echo '/mnt/1GiB.swap swap swap defaults 0 0' | sudo tee -a /etc/fstab
You should receive output like this:
Now we are ready to setup Kasm!
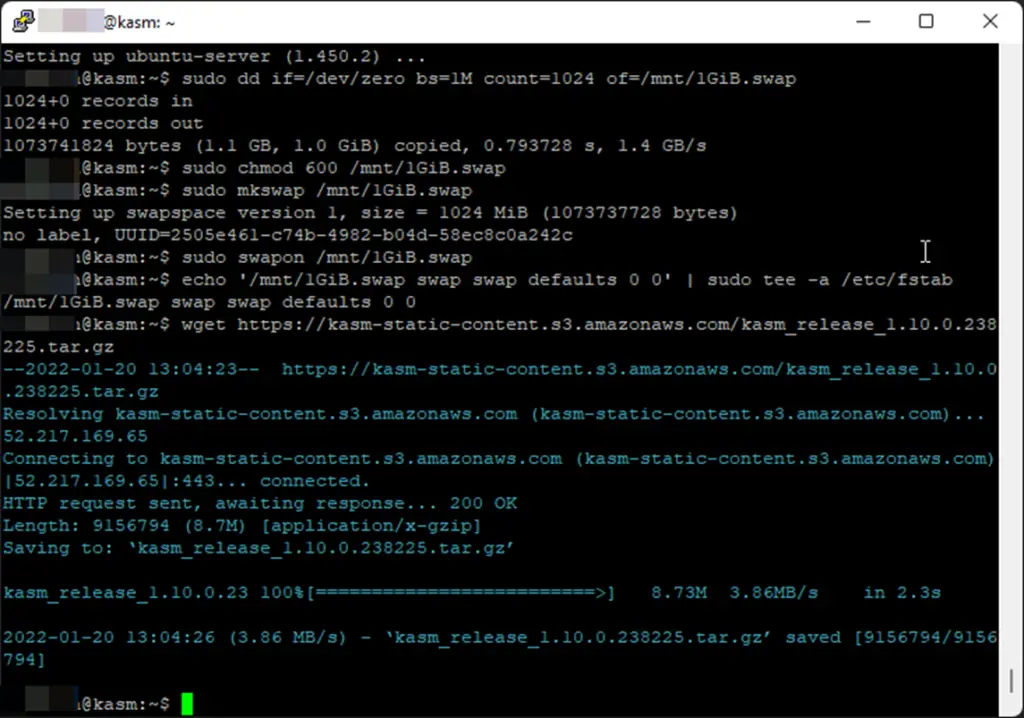
Using wget we are going to pull their latest release:
wget https://kasm-static-content.s3.amazonaws.com/kasm_release_1.10.0.238225.tar.gz
Your output should resemble:
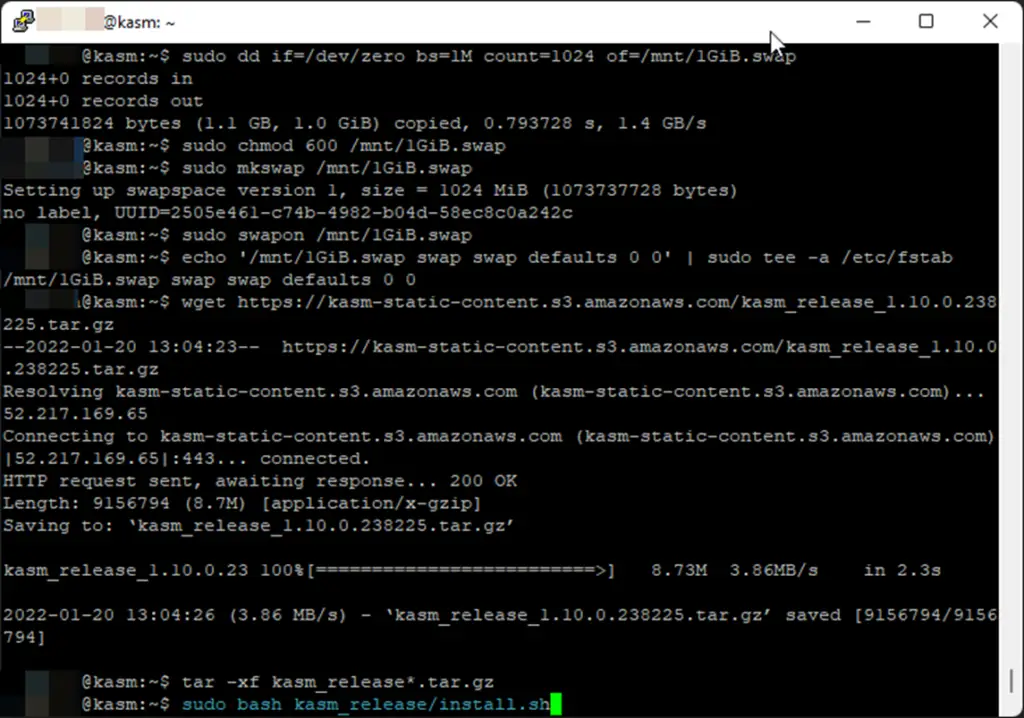
Next we want to extract the tar.gz file we just downloaded using wget;
tar -xf kasm_release*.tar.gz
And lastly we want to run their install.sh
sudo bash kasm_release/install.sh
You must accept the license agreement to continue.
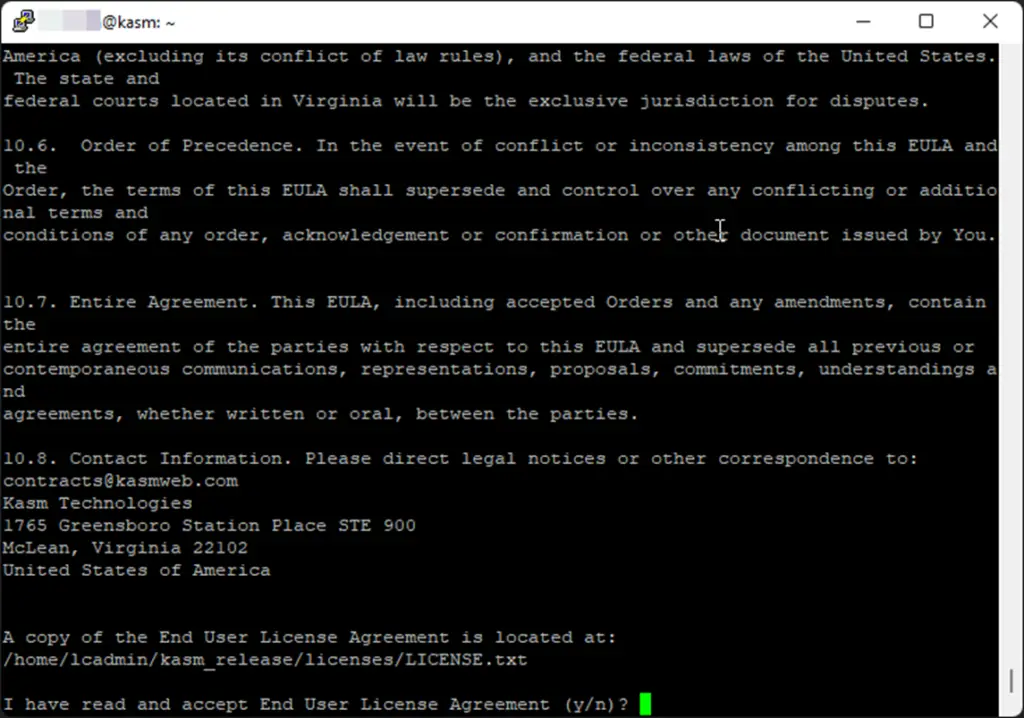
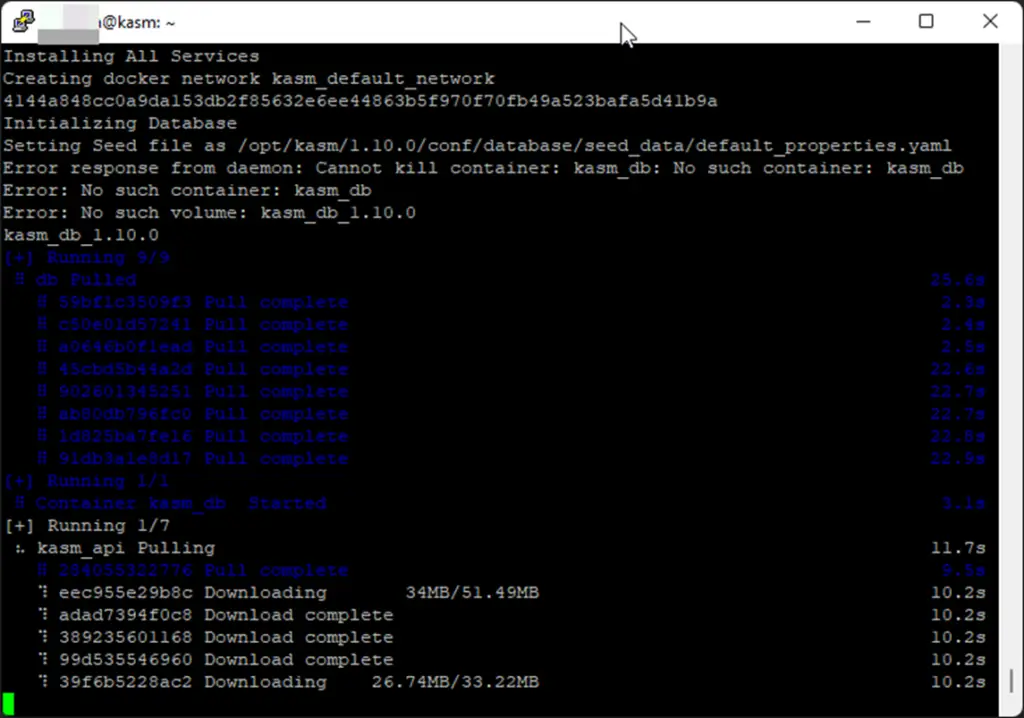
This part takes a while. I suggest getting a coffee.
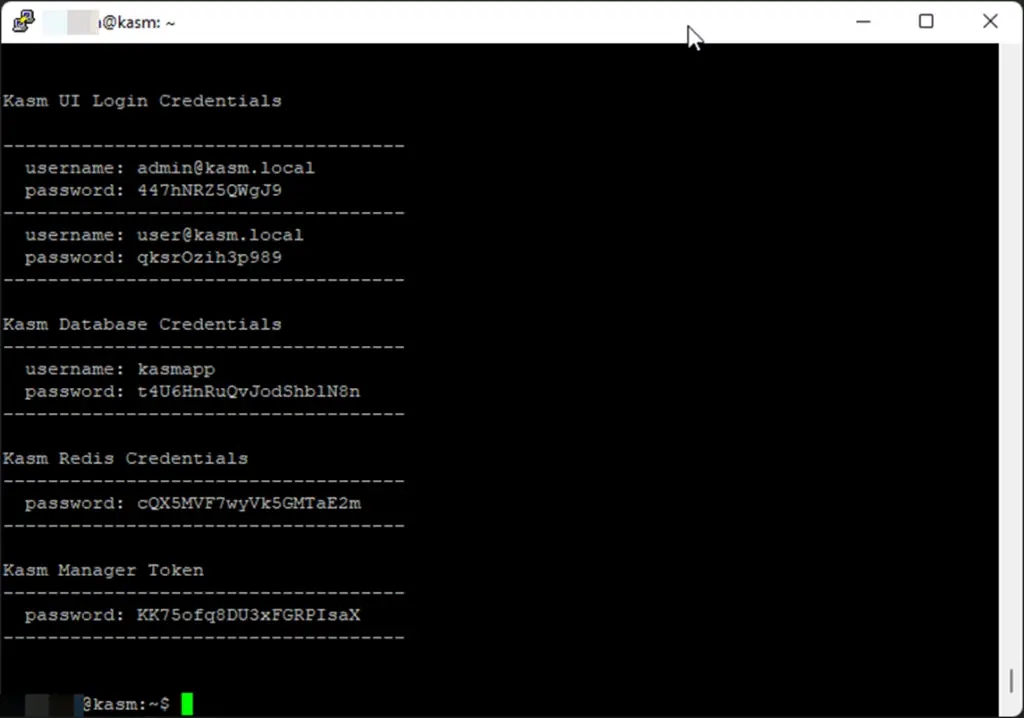
When the Kasm install is completed, you will be provided with the credentials Kasm built by default, make note of them.
We are done with the command line access. Now browse to your new Kasm server on https://IPADDRESS-OR-DNSNAME
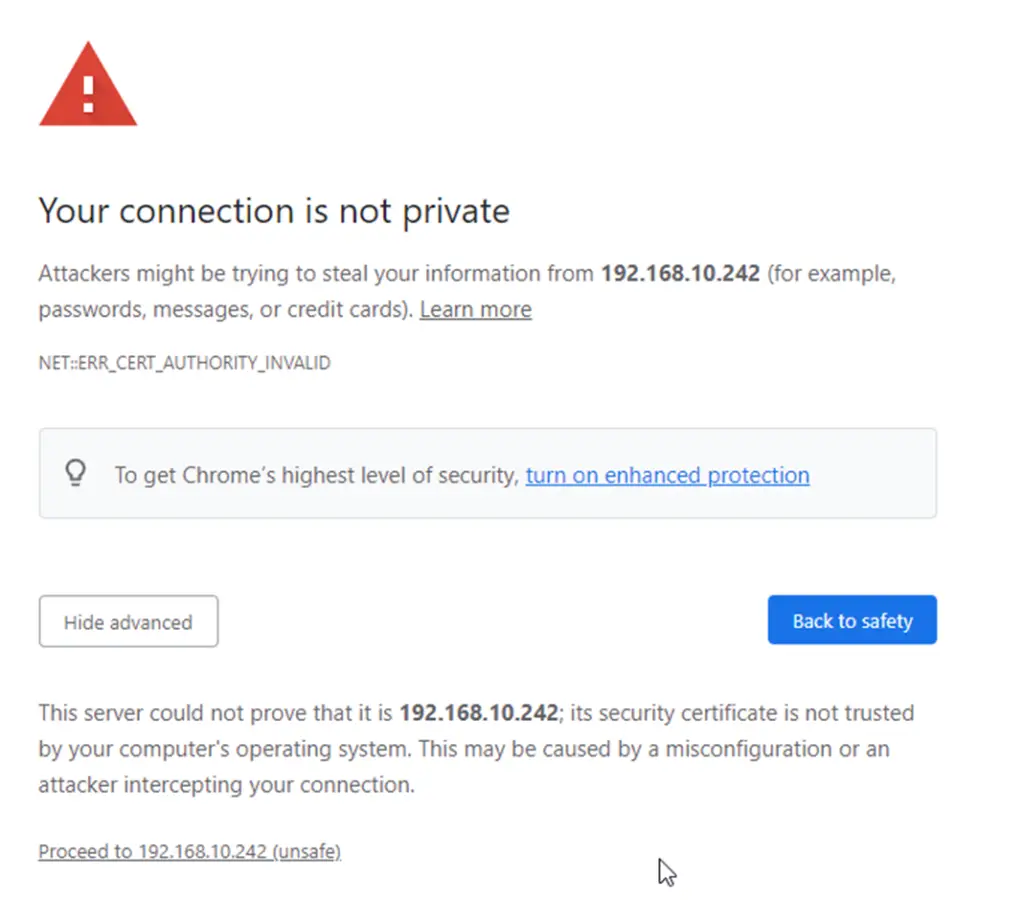
Upon doing so you will be prompted with “Your connection is not private”, click advanced, and Proceed to IPADDRESS (unsafe)
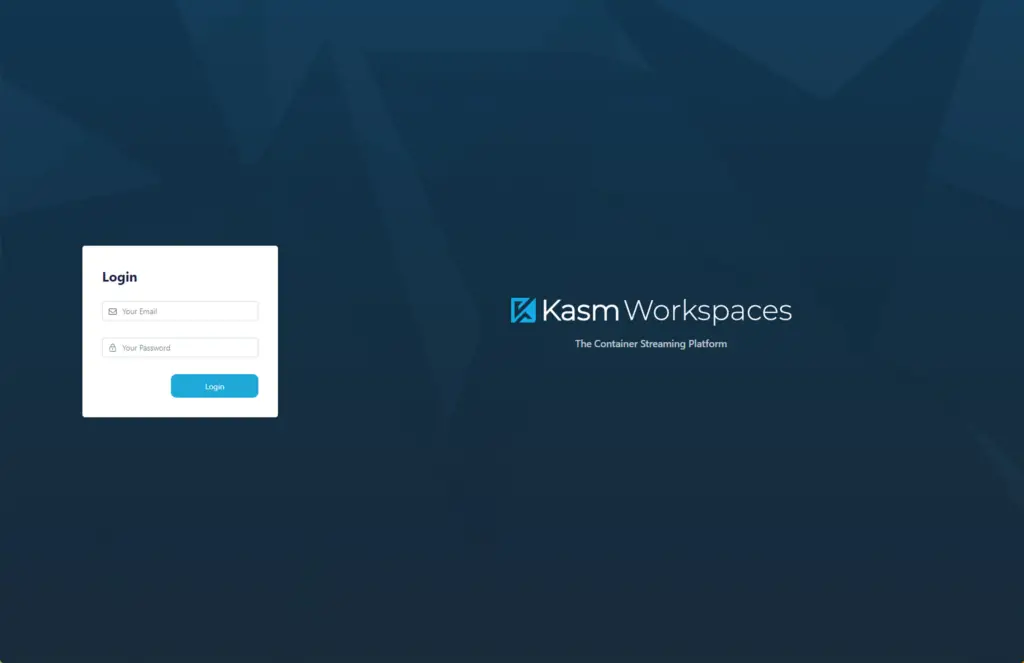
Afterwards you will be prompted to login to the Kasm Workspaces server. You need to login using the login information provided at the end of the Kasm installation.
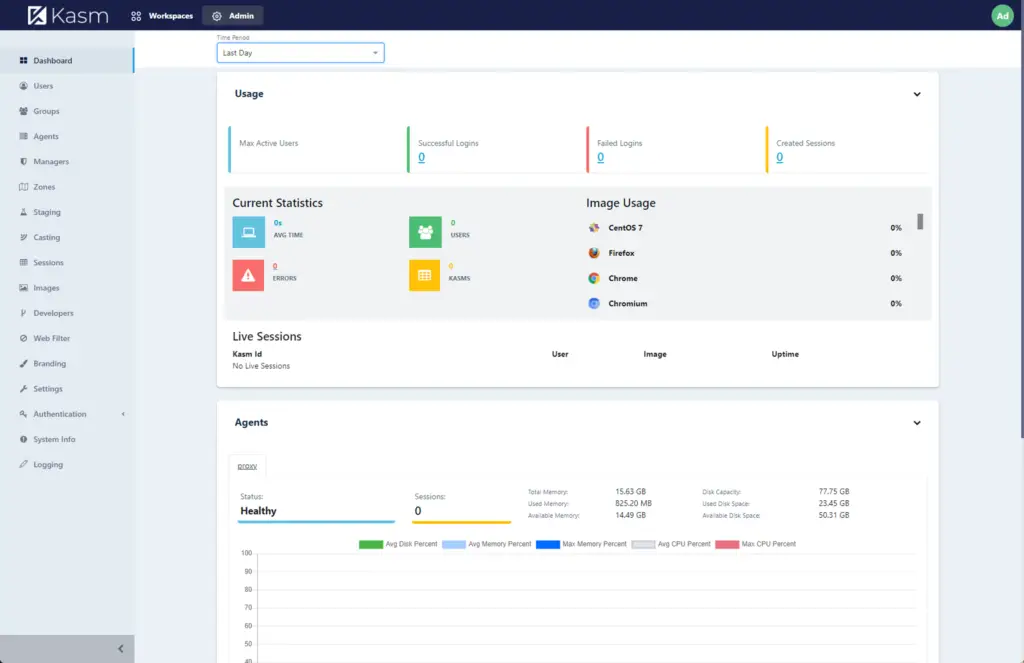
Upon initial login you are greeted with the Admin Dashboard:
How do you build user accounts?
Now that we are in let’s build our user account, as we do not want to use admin to do everything. To start we click on Users, directly under the Dashboard.
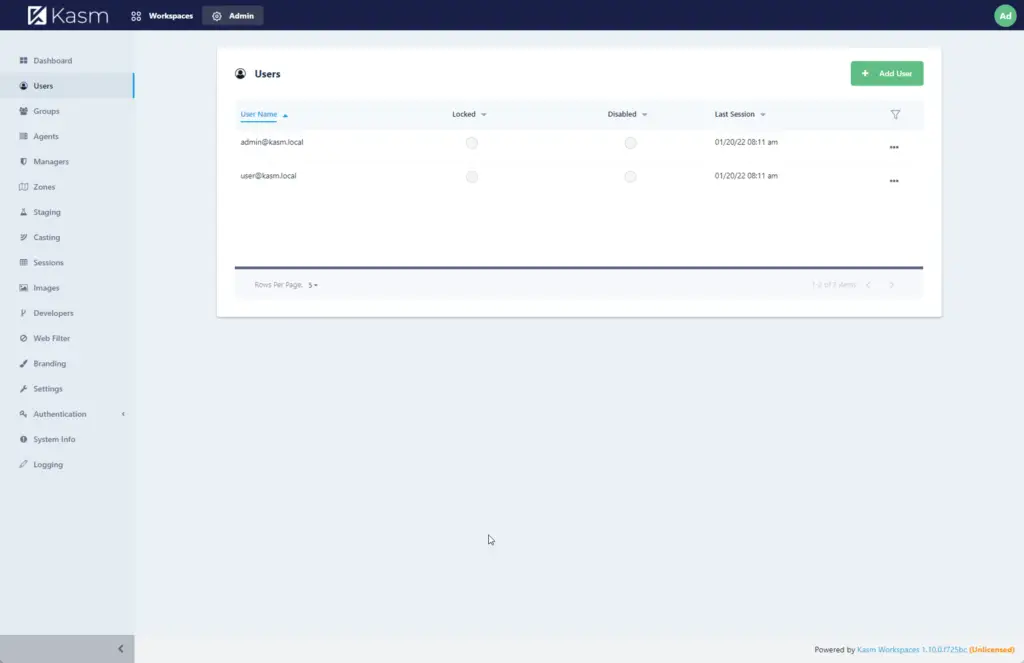
Next we click on Add User
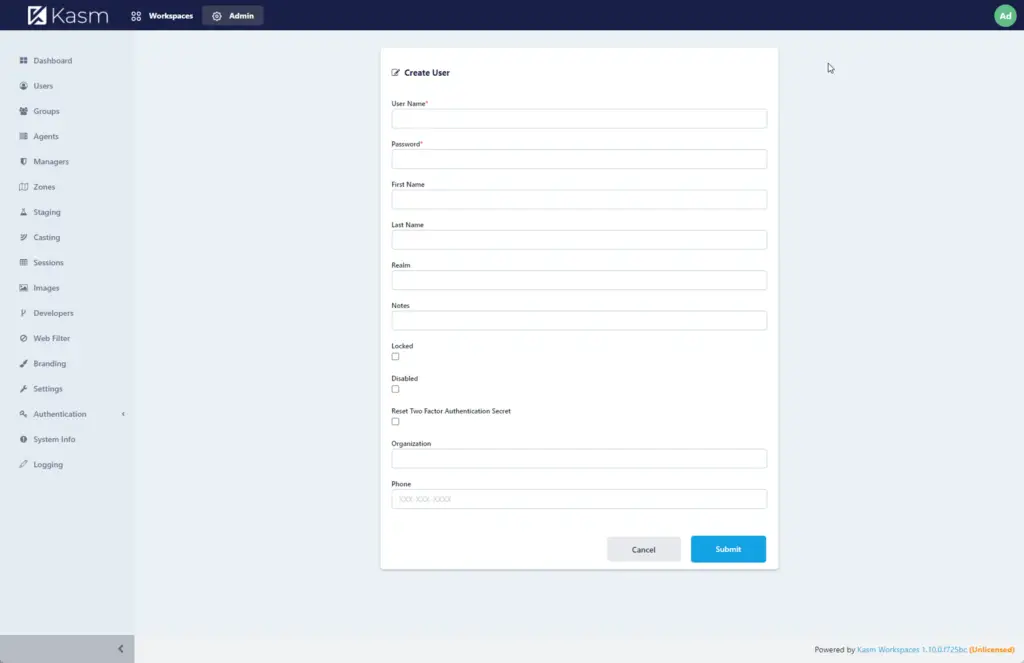
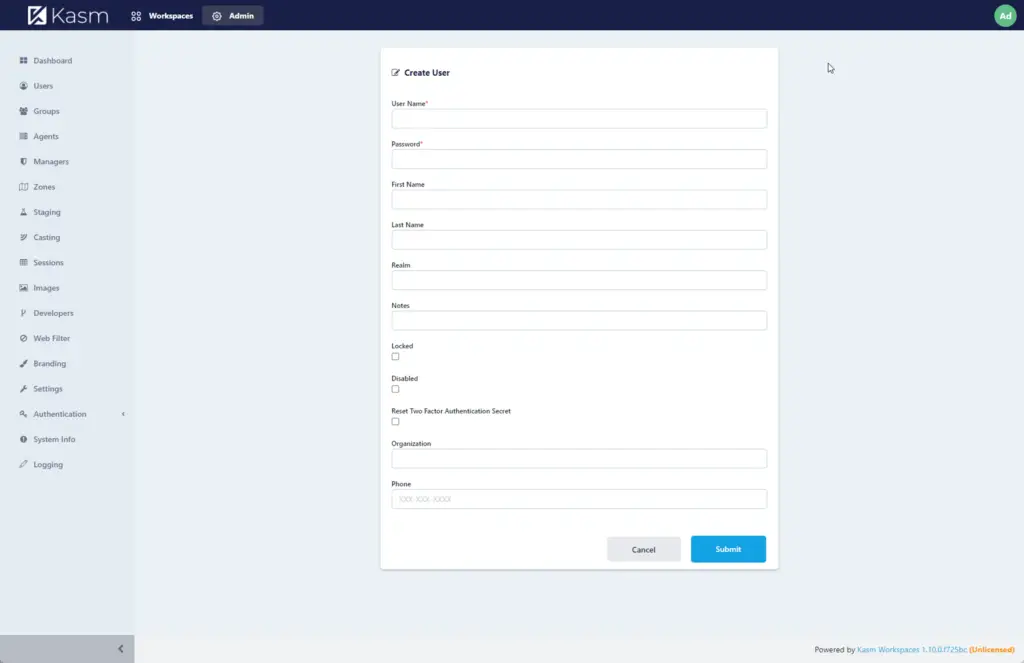
Create your user, and click on submit
How do you add a user to the Admin Group?
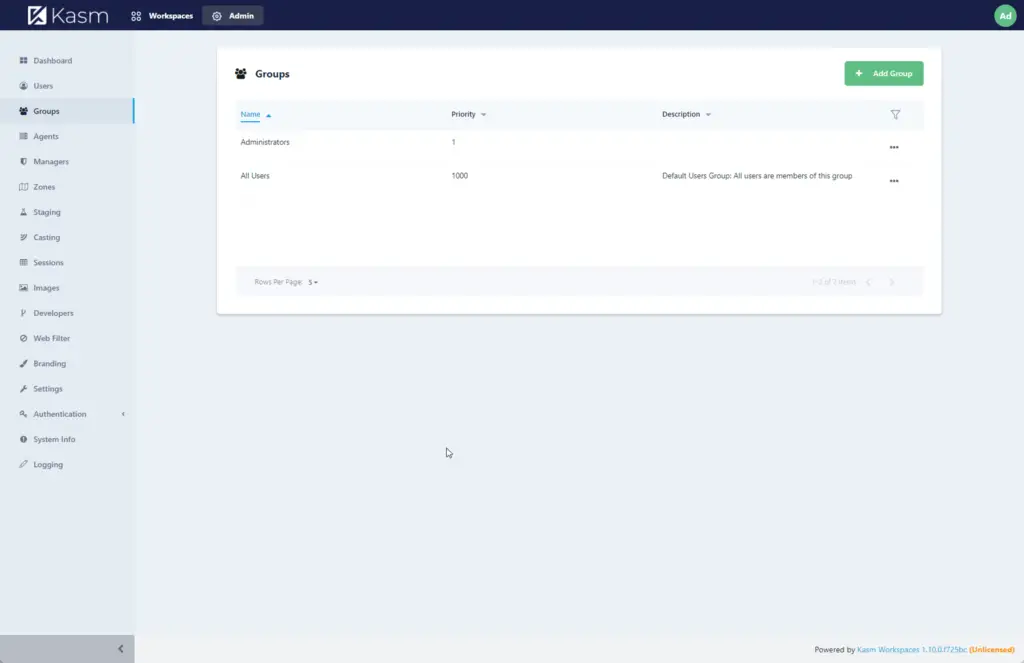
Now we need to make this user an admin so we click on Groups, below Users.
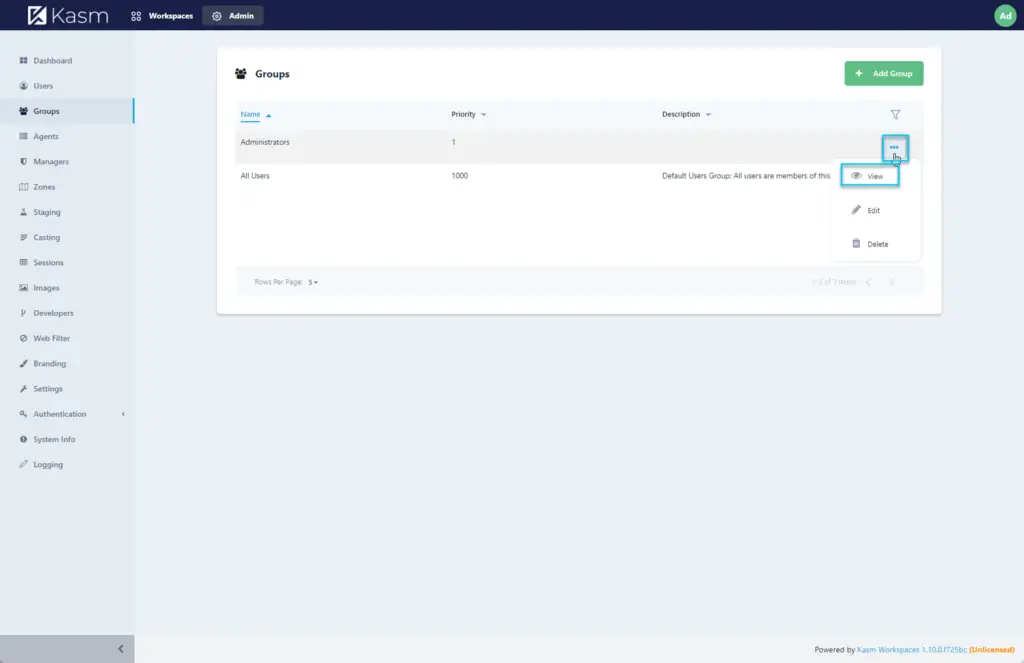
Then we click on the ellipses by Administrators, then click on View.
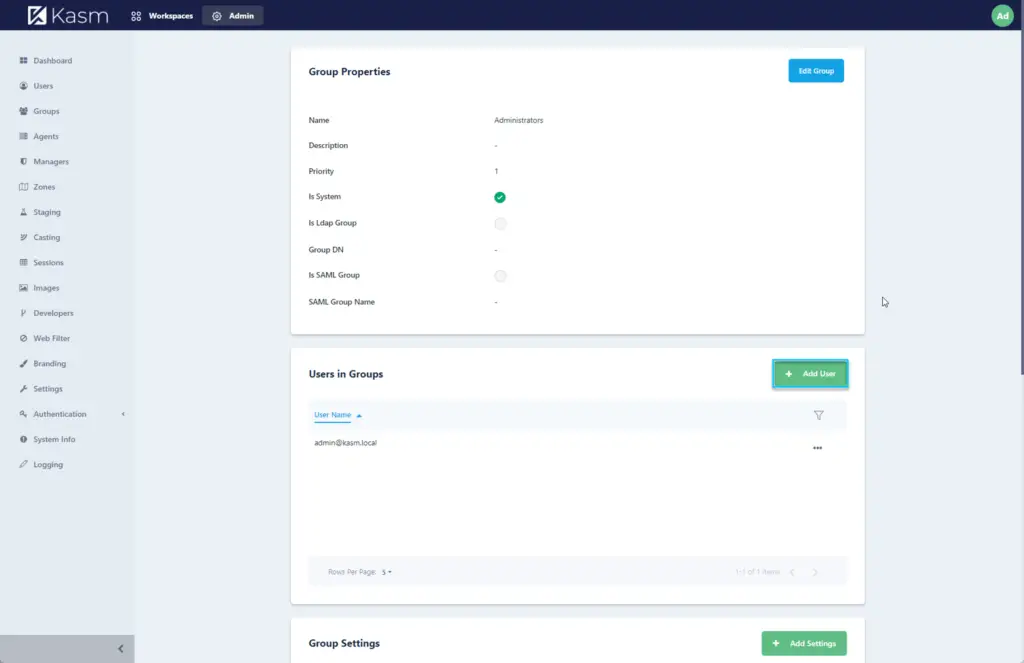
Scroll down to Users in Groups and click on Add User
Under Add Users click on the drop down and select your user, in this case I want to add our Test user to admin.
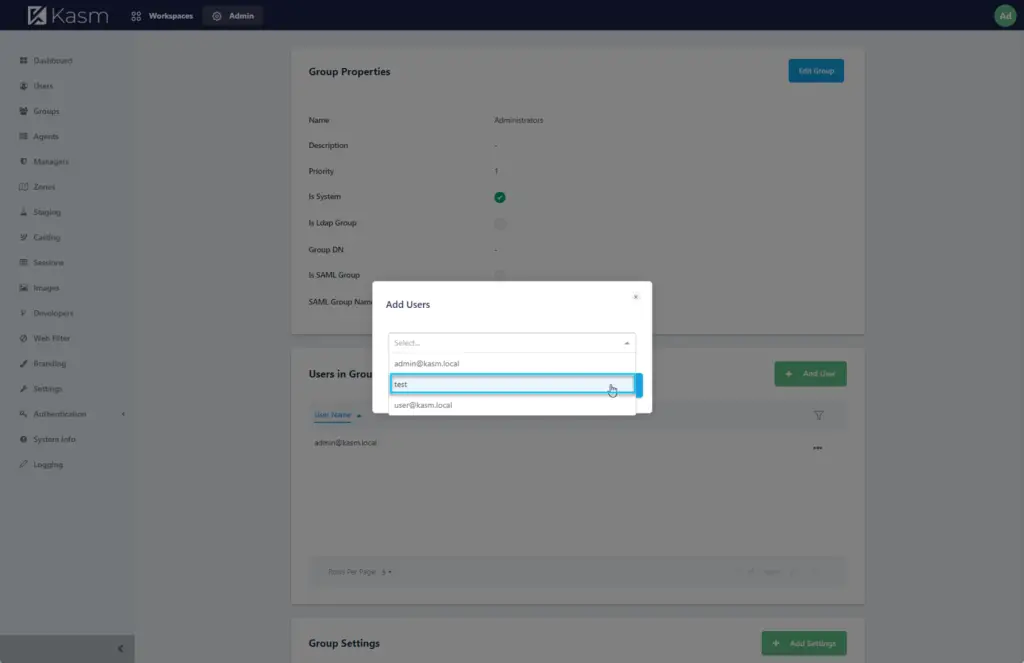
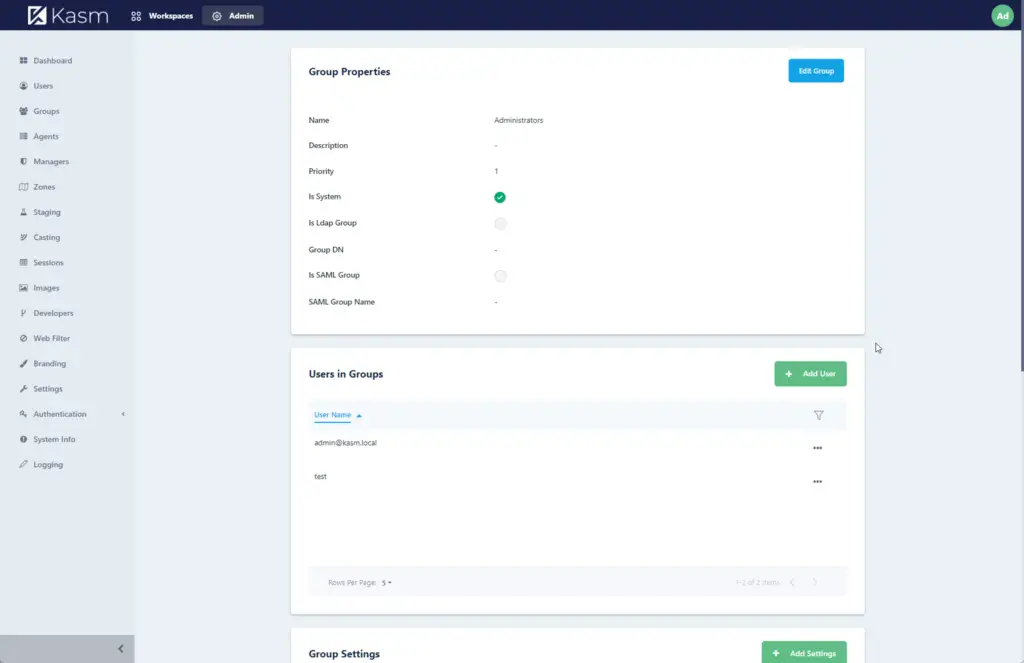
Click Add to add the user to the Administrators group.
How do you add or remove images from Workspaces?
Let’s start with Workspaces Tab, beside Admin at the top, click on this.
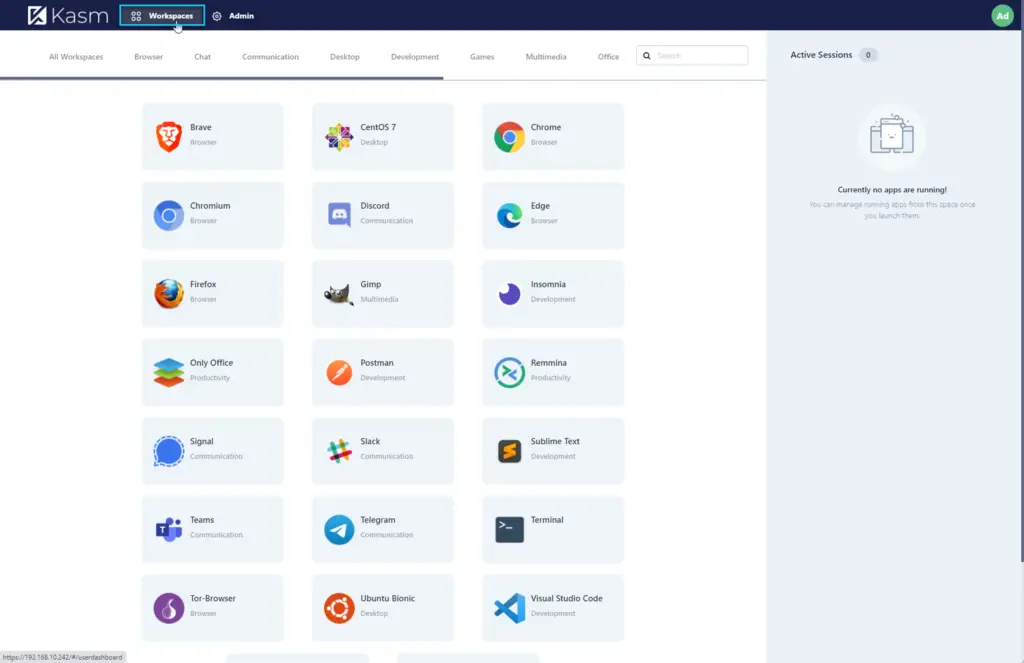
Everything in this list is available to all users and groups by default.
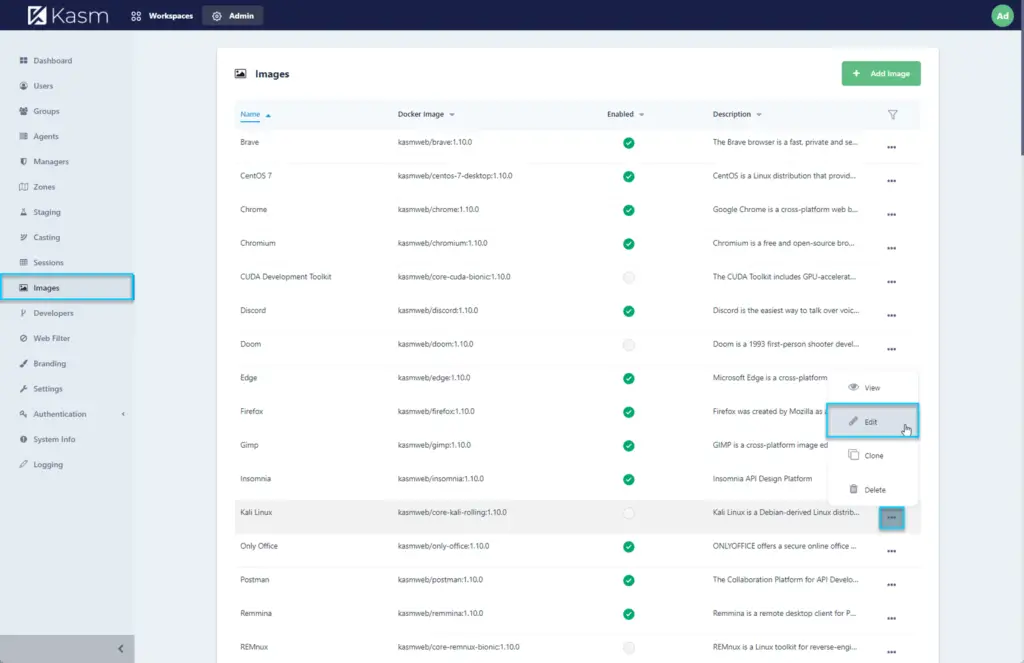
To add Kali Linux to this list of available software there’s a few things we need to do. First click on Admin again. Then click on Images on the left.
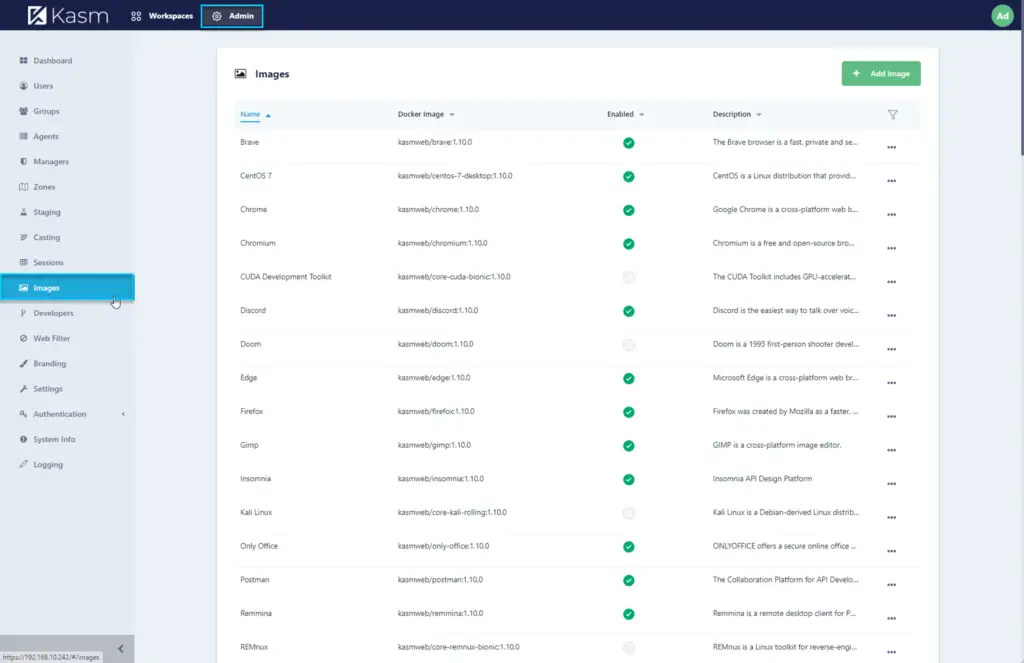
In here you can add a custom image, you can modify current images, clone them, or add defaults that are not added automatically. Now that is what we are doing today. On the next page scroll down until you see Kali Linux and click on the ellipses, then click on view.
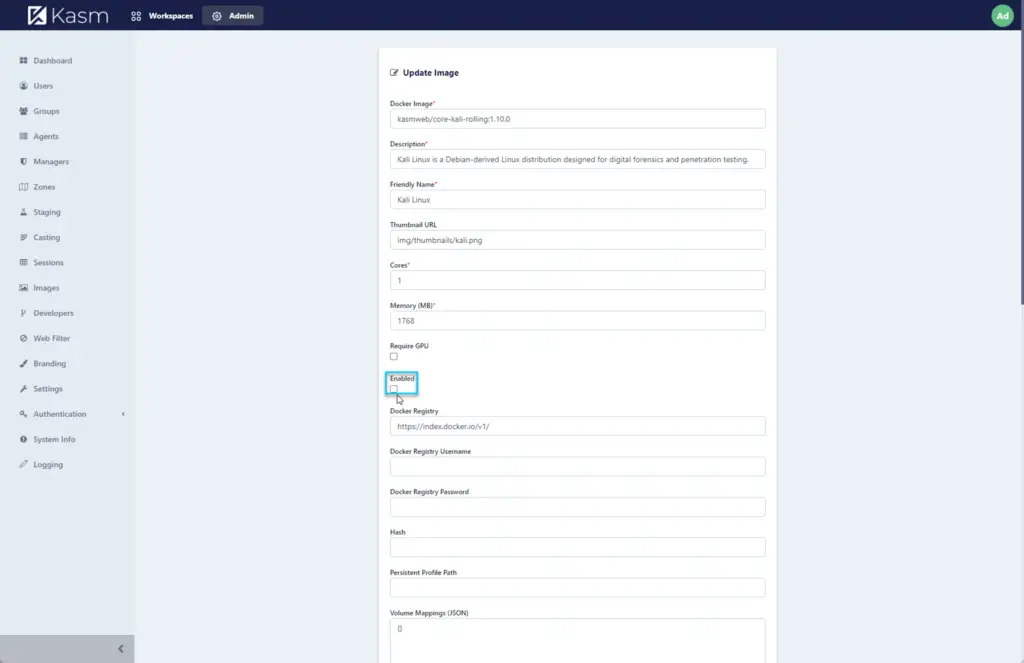
All we need to do in here is click on the Enabled box: scroll down to the bottom and submit:
If there are no errors you should see a message that says Successfully updated Image.
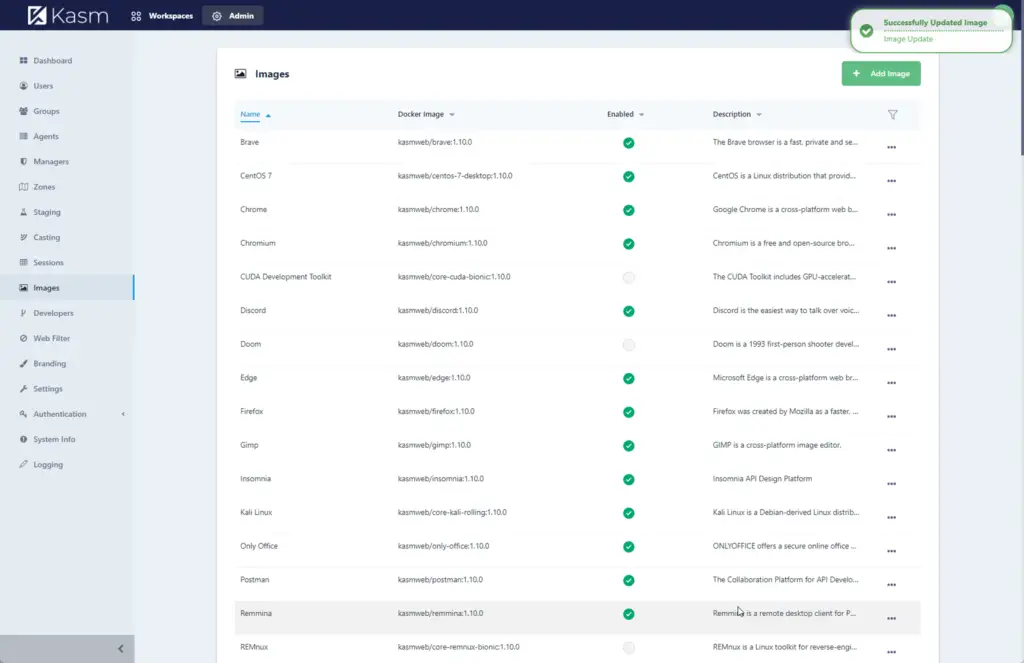
Now that we have completed the new image setup. We still need to wait on the workspace to download the container before we can use it.
If you go to workspaces now you will see an icon above the Kali Linux install that says the Image has not been detected on an agent. Let the system work.
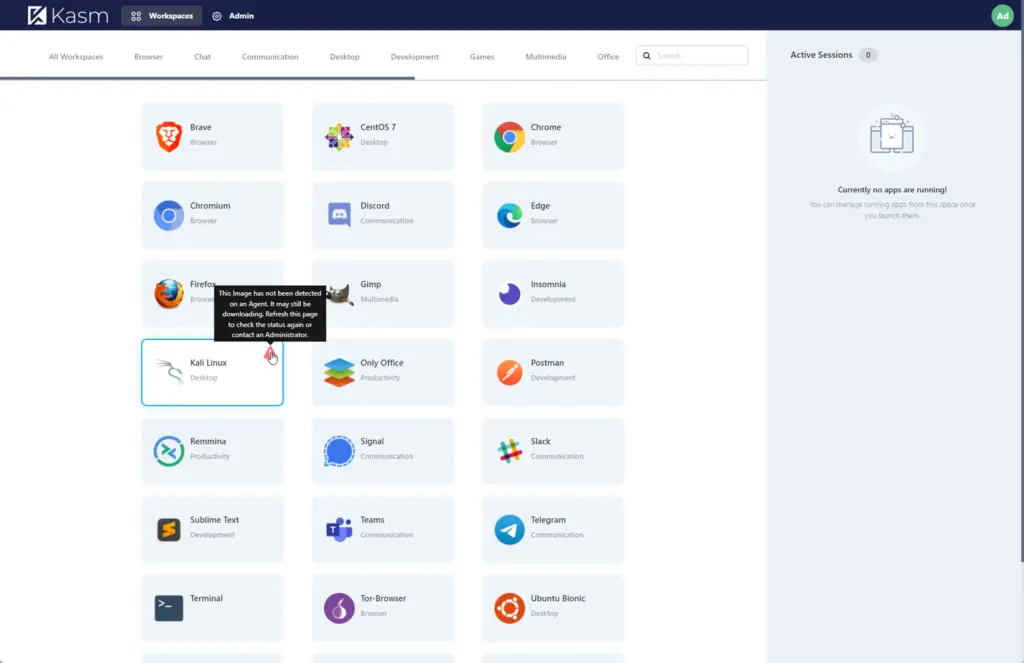
Now that the container has completely updated you can click on the Kali Linux installation and choose Launch Session.

How do I configure Chrome to “Open in Kasm?”
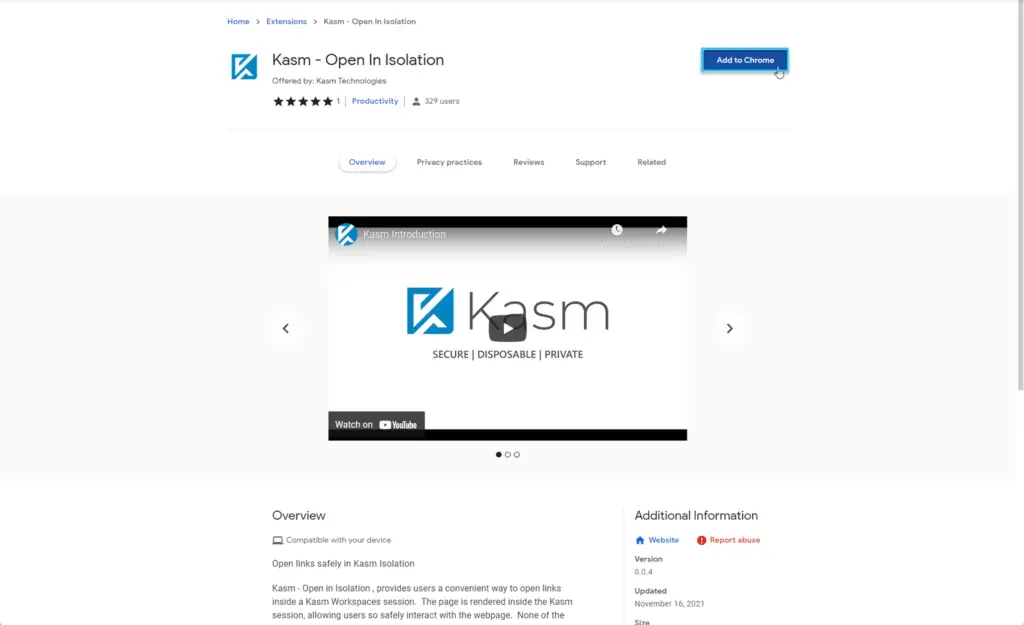
Next we will configure Chrome for the right click option “Open in Kasm”. To start open the Chrome Web Store, and search extensions for Kasm.

Click on Add to Chrome.
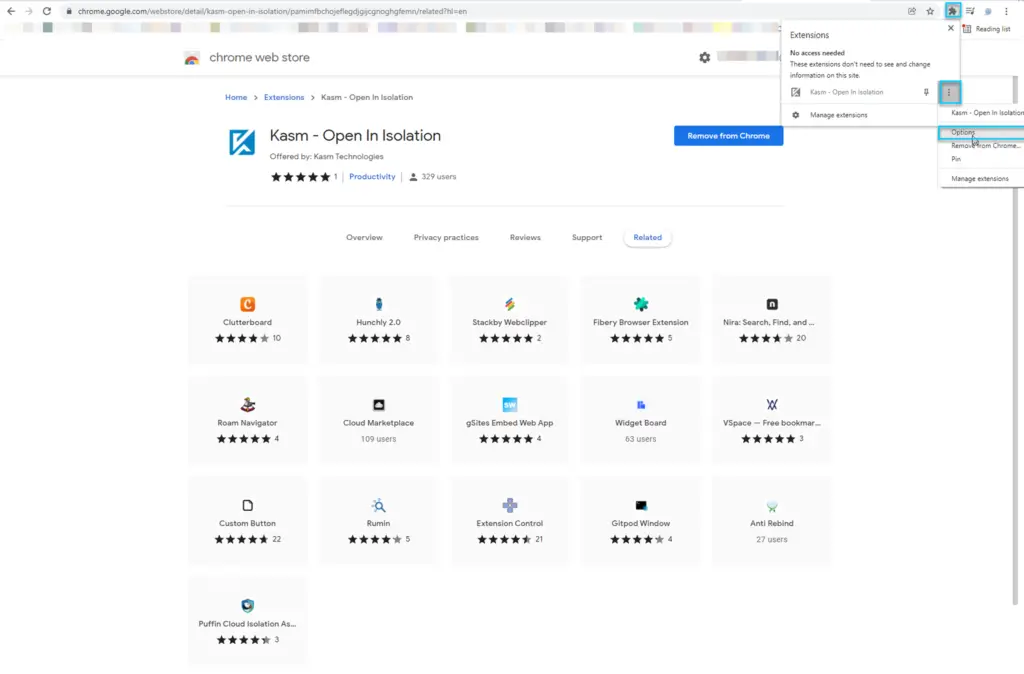
With Chrome open click on the Extensions icon, which looks like a puzzle piece. Afterwards, click on the three dots across from Kasm – Open in Isolation, and lastly click on options.
Next you add your servers IP address and click Save.

Now we are almost done, we now have to tell Kasm, what we want our default workspace image to be.
Note: This is a per user change, and does not have to be the same for everyone.
Click on your profile icon, then click on Profile below.

Now we modify the Default Workspace Image that gets used by our user account. Here, I want Brave to be used so that will be my selection. In the dropdown select Brave.
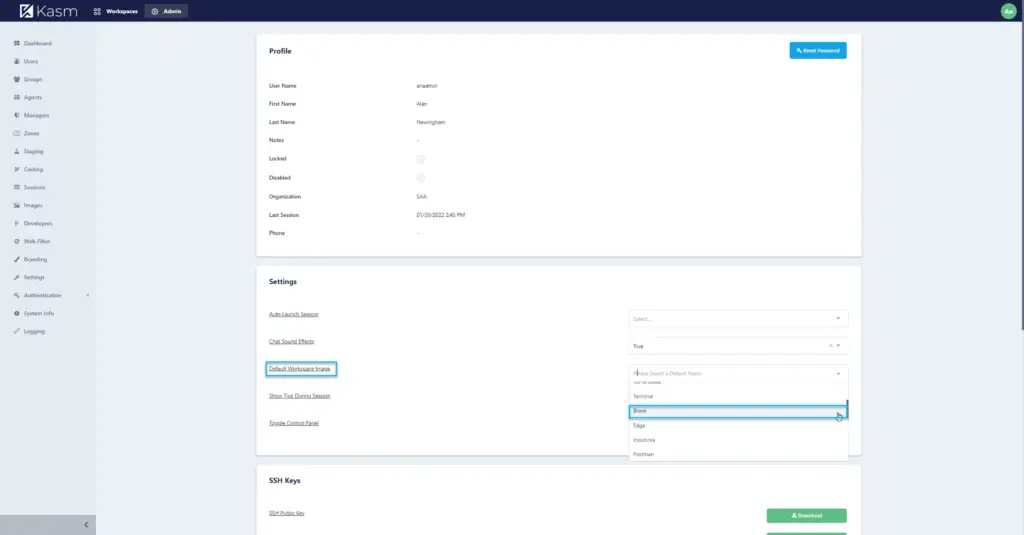
Note: When making your selection the selection is saved automatically, and no further action is needed.
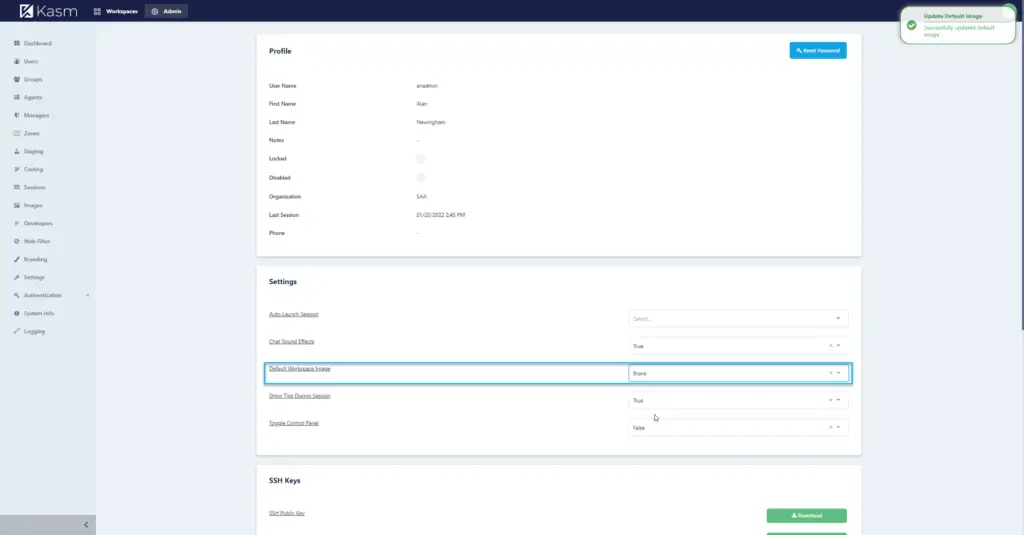
Now we can test chrome’s ability to open any link using our Kasm workspace.
On any link right click inside chrome and select Open link in Kasm.

Just like that you are browsing a site link securely and without fear that the link is malicious.
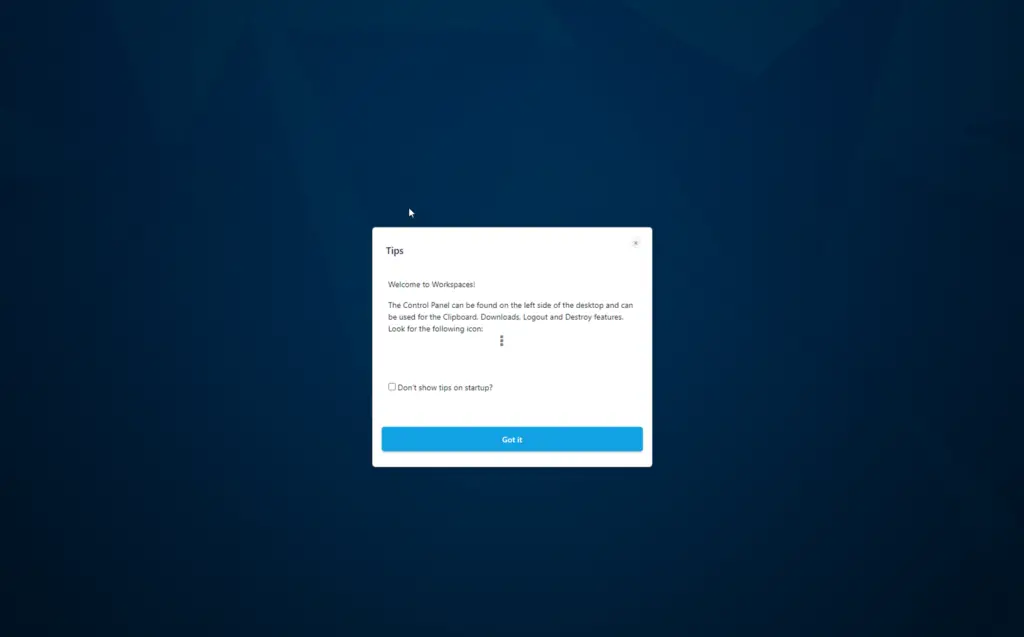
On your tab on the left, when you click on it you will be presented with a menu, from top to bottom.

- Sound
- Microphone
- Clipboard
- Download
- Upload
- Streaming Quality
- Share Instance
- Configure
- Return to Workspaces
- Log out
- Delete Instance
Now that you are done, you can delete the instance. Otherwise the instance is automatically deleted in one hour.
There is a lot to Kasm, this is just the beginning. Enjoy.

